Guess who had a full day of work and was still behind on writing cards and wrapping presents and still had not made Christmas Eve dessert by Friday afternoon on December 23? MEEEEE!!! That break I had the week before was more like a short gasp of air; there was so much to do @ the office before everyone else was trying to escape for the holidays. Fun. When I got home I couldn’t even think about making dessert @ the time and just rushed to wrap all the gifts for Vin’s family and tried to @ least sort out gifts for my family. I took a break to give Vin the rest of his presents (super awesome knife cufflinks, shoes, tickets to see pro bull riders @ MSG, Japanese thermal long johns). Our romantic pre-Christmas dinner @ Maloney and Porcelli was my gift to him the day before (I don’t care if you’re vegetarian; you MUST get the crackling pork shank!). Vin gave me mine super early: I got a second 6-quart KitchenAid stand mixer (I have now christened them Thing 1 and Thing 2) and some neat baking pans a week before Christmas =P
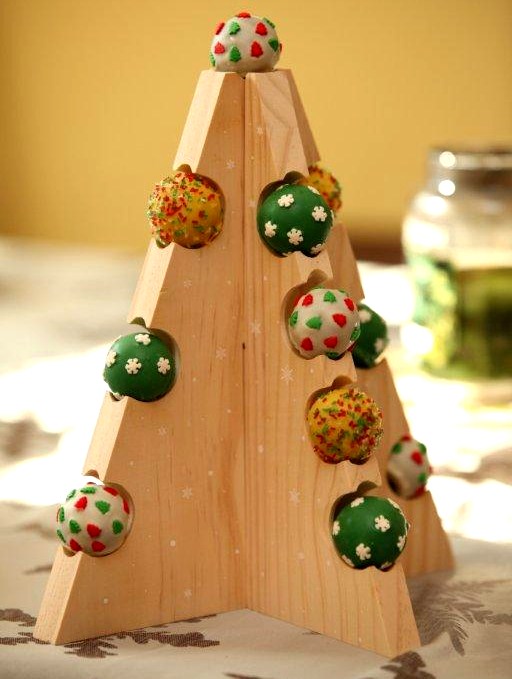
I woke up early on Christmas Eve to get started on the cake balls. I had a clear vision in mind for this Christmas dessert, and it was basically making really fancy, hand-decorated cake balls that were to resemble ornaments on this wooden tree stand I bought from Godiva last year. The tree came with wrapped chocolate truffles, but those are long gone and all that remains is this simple wooden display. Although these aren’t my favorite things to do, I admit I’m getting quite adept @ making cake balls now. Plus, I had some leftover cupcakes from last weekend, and what better way to salvage dry cupcakes but to process them into cake ball dust?

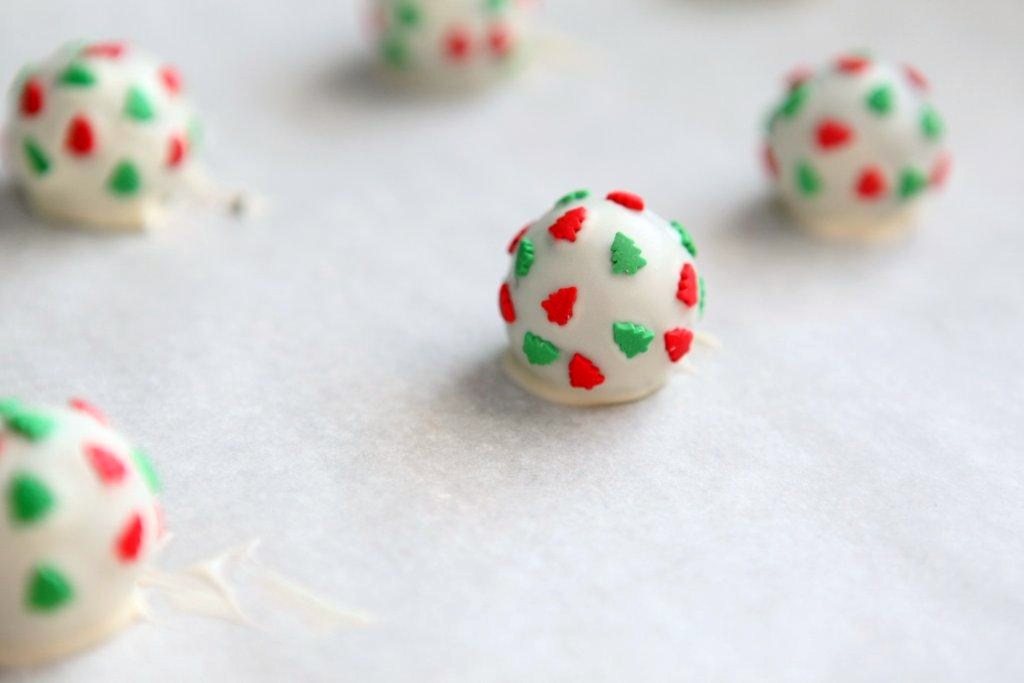
I took out a Godiva truffle to gauge what size to roll out the balls (1 Tbsp scoop) so that the wooden tree display would cup the balls ever so snugly. I had a bit of candy coating leftover from last month’s wedding favor order to cover a few balls, and broke open a package of white candy coating to make different colored “ornaments”. I made the white balls first one @ a time: dipping, setting them to dry, artfully arranging Christmas tree sprinkles, and wash, rinse, repeat with the remainder of the yellow and green coating. The candy coating dries rather quickly (man, I thought the white coating was fickle… no way, the green coating dries super fast!), so I couldn’t just dip a few balls @ once or the decorations would never stick. And I couldn’t just throw all the sprinkles on or it would look like crap. These were delicate, handcrafted, ornate cake balls with a coating that dried pretty damn quick. I’d liken this to decorating a Fabergé egg, but on speed. haha
The three final designs were: white balls with red and green Christmas trees, yellow balls with clear/red/green sugar sprinkles, and green balls with white snowflake sprinkles. I WANTED to make a fourth design: red balls with crushed peppermint sprinkles, but my downfall was not having actual red candy chips. I thought I was being sooooo innovative and smart by adding red food coloring to the white coating after making several white balls… but I overheated the candy by just a tad and didn’t have enough time to fix that mess. It was 1055 am and Vin was already hovering over me to pack this up and get ready to go, so I just brought a not-so-Christmassy variety pack of balls. I mean, yellow? Come on now… =/

We set it up @ the T house and it did look nice. Someone said it was a really great cake ball dispenser and Vin’s crazy cute nephew Patrick was very adamant on having a “gween ball wif white snowfwakes!!!” I made extra balls to refill the empty spots on the tree and hoarded some to bring to my parents’ house for Christmas Day. My mom, dad, and grandma had never had one before and said they were good, my sister and her boyfriend were quite familiar with my baked good experiments, and my brother just popped the whole thing in his mouth, grinned, and ate it. =P
And with that, I give you the end of Christmas 2011 baking. (Phew!)
Happy 2012!
