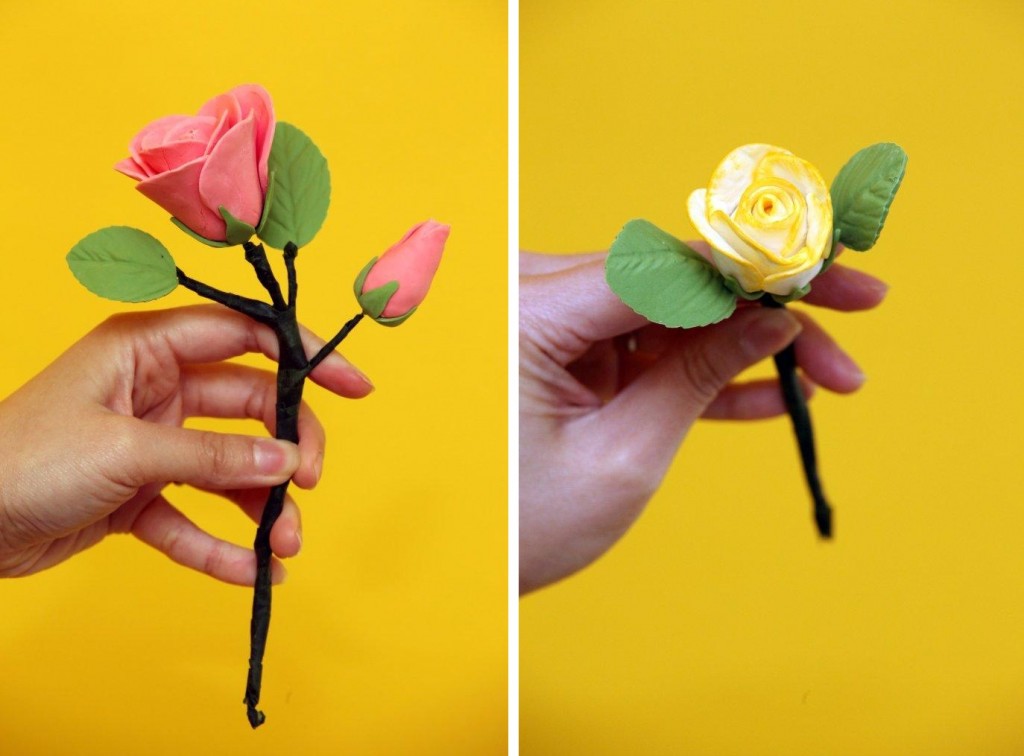
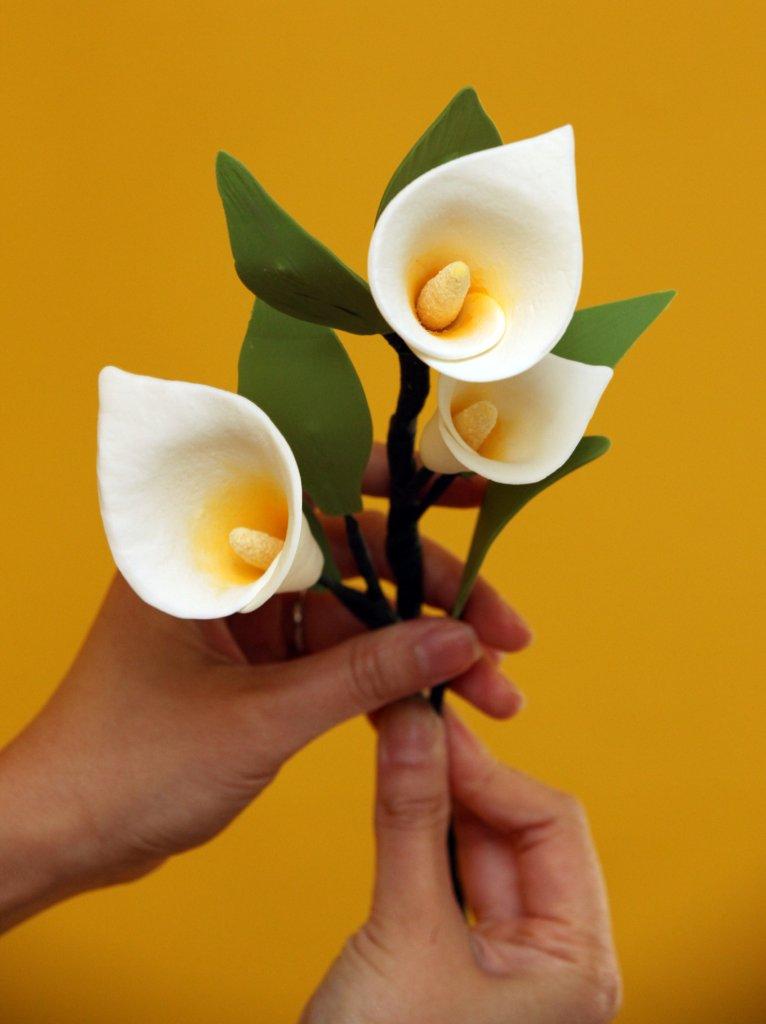
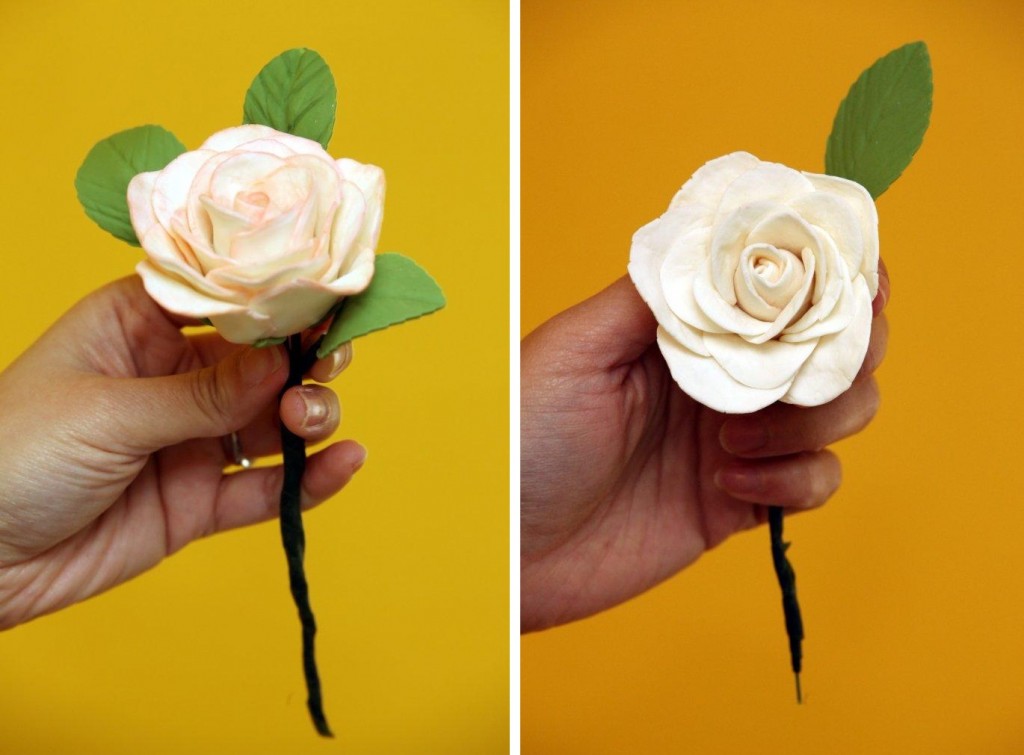
I was so super psyched that we were going to see my mom for Mother’s Day (she was happy about that, too). I haven’t been feeling well lately and one of the few things that makes you feel better is just being around mom. I wanted to get her a really nice gift since we don’t get to see her often, and I knew that my mom loves flowers so I had an idea… not just give a bouquet that would wilt and die within a week, but one that would last forever. Well, as long as you don’t get it wet or drop it.
About a month ago, I decided I wanted to make a bunch of sugar paste flowers for my mom. My friend K and I took a brief and somewhat rushed gum paste crash course that gave an overview of the general steps to make roses. The class was the only decorating class I’ve ever taken (and probably ever will take) and it felt like I was part of a cooking show. You know how everything is already all prepped and the perky host does a few steps, pops it in the oven, you blink an eye and a readymade ____ is done? It was kind of like that. We did one step, stopped, got dried parts of the rose made by someone else, did another step, stopped, got the next part of the rose made by someone else. I wasn’t too thrilled with that, but after seeing all the steps involved I made mental notes of what to change when I made gum paste roses… mine from start to finish.
If done properly, a full bloom would take about a week to do. You do a step, let it dry overnight, do the next layer, let it dry overnight, and so on. I bought a couple bags of prepared Wilton gum paste and was pissed to find that one bag had already started drying out. I tried to salvage it and kneaded pink food color into the mixed paste, but it was still tough to work with. There were tips and tricks online, saying that adding shortening or popping it into the microwave for a bit would help, but the end result with the pink roses weren’t nearly as nice, just b/c I couldn’t shape the petals more since it dried out too quickly.
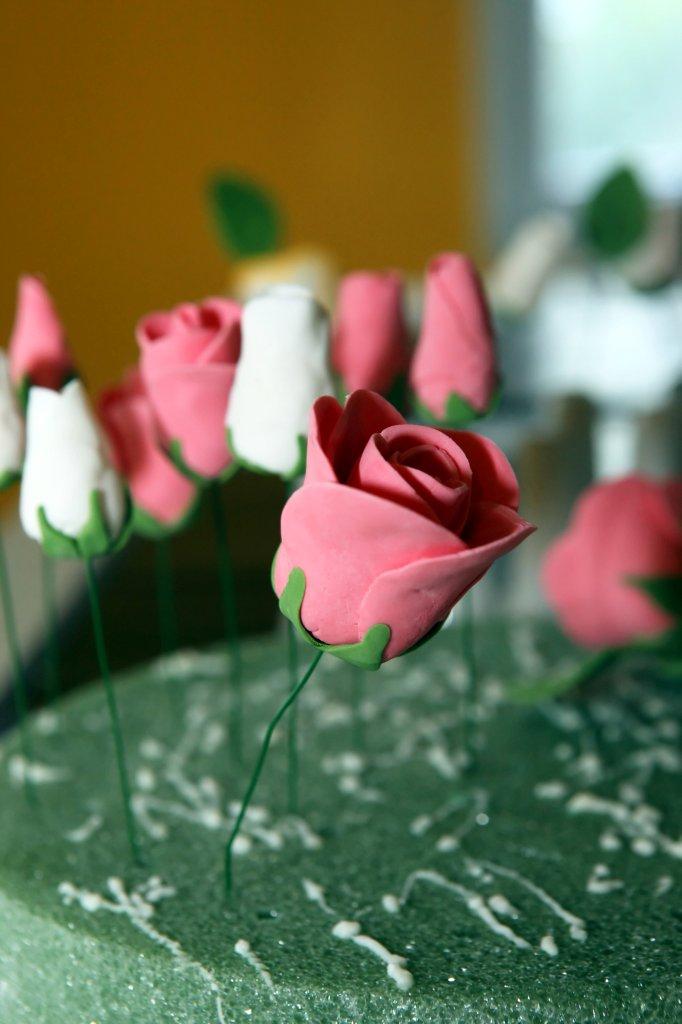
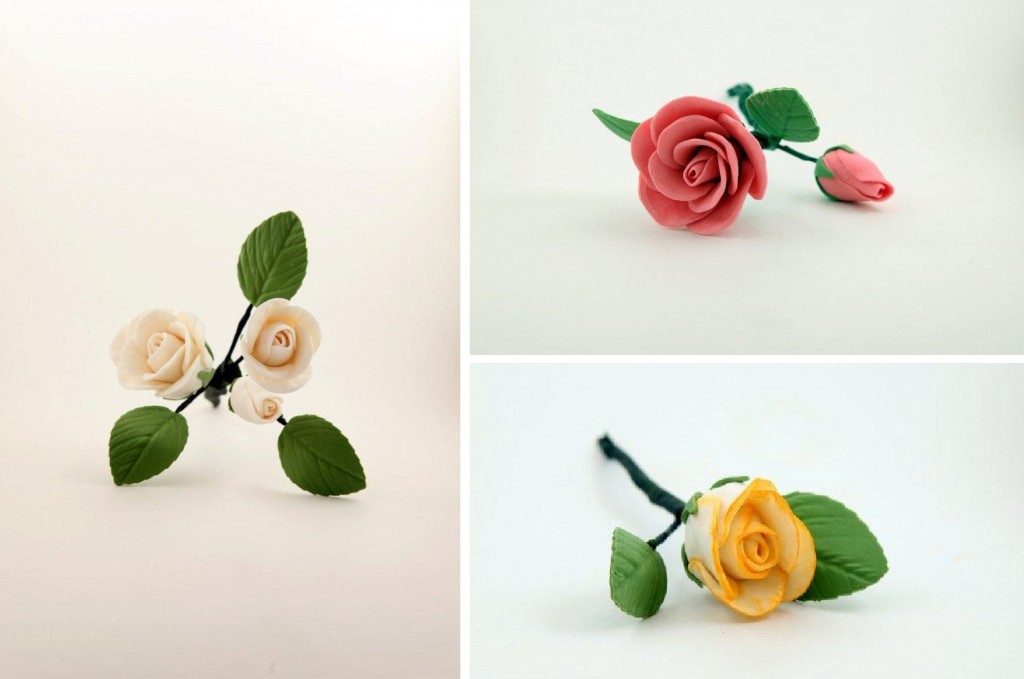
The second bag of gum paste was in much better shape. I kept these set of rose petals white so I could paint them when they dried. The consistency was soft and easy to roll out and shape, and I was able to keep them from drying out quickly by putting a thin layer of shortening on plastic and sandwiching the cut out sugar pieces between the plastic. (I discovered this helpful hint myself!) Working with one piece @ a time, I shaped out the petals by hand and wrapped the petals on each rose. I think my later roses looked wayyyy better than my earlier attempts. They had to dry upside-down, and instead of buying the unnecessary tiny Wilton rack, I just hung the flowers all over the kitchen on the cabinet handles.
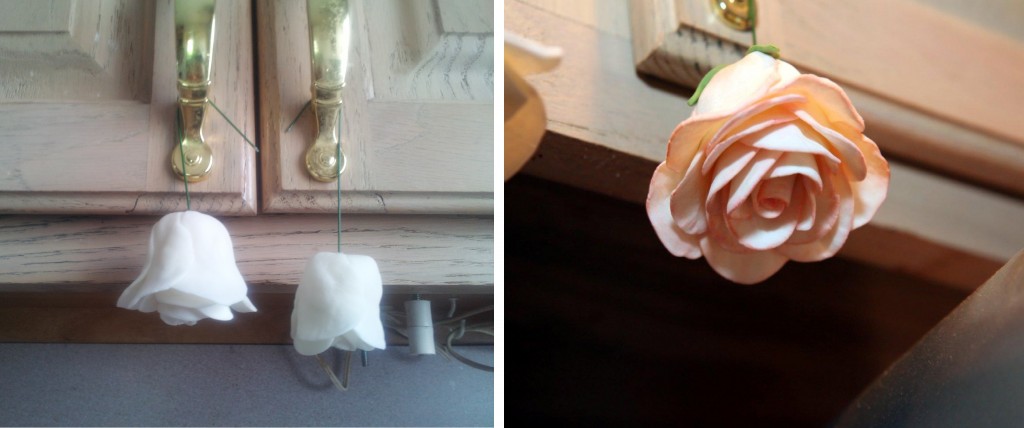
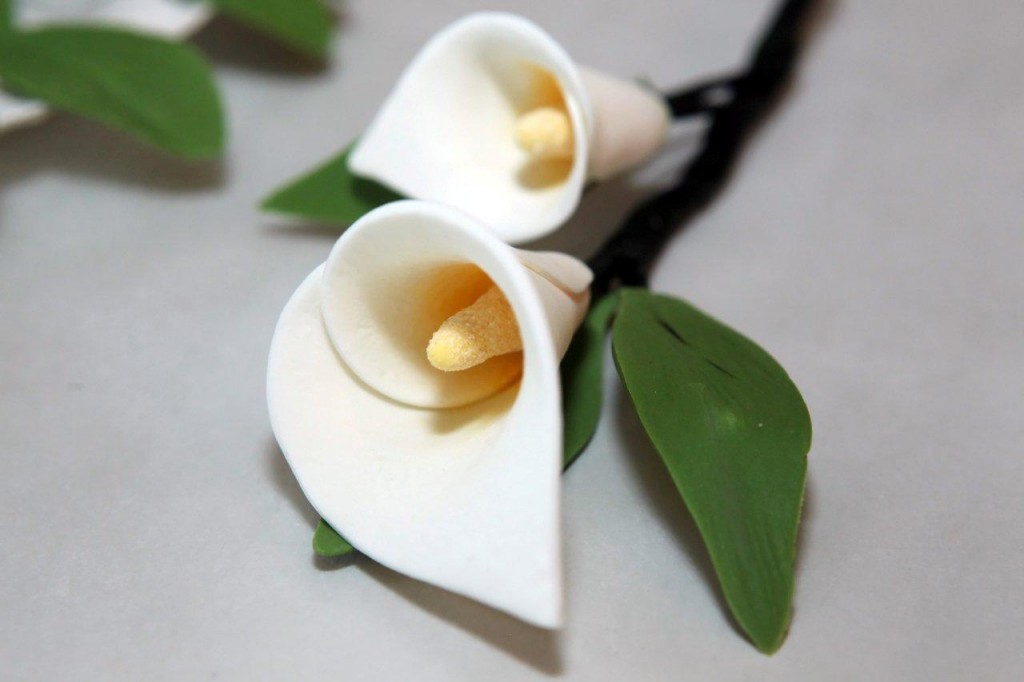
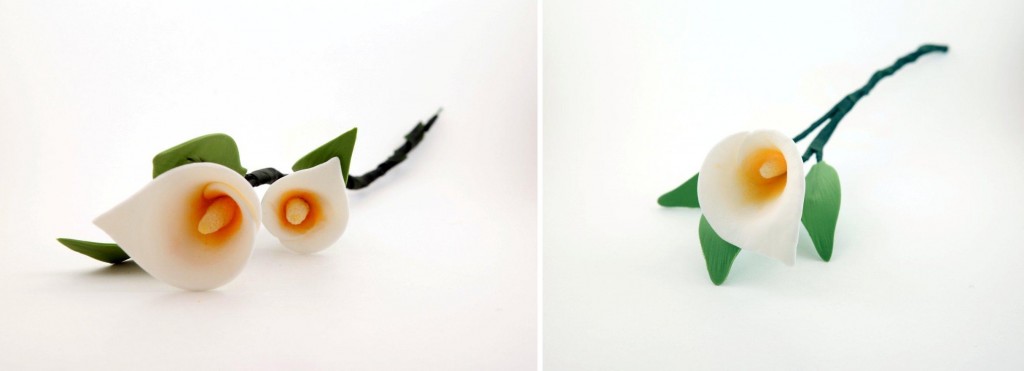
While the big roses were drying on the cabinet handles, I rolled out the sugar paste for the cala lilies. These were SO super easy to do. I molded the stamens for the cala lilies the same evening I shaped the bases for the roses, and added the telltale fuzzy texture to the lily stamens. Then it was just one wrap of the petal and a dab of gum glue and voila… the elegant lily was pretty much done. I hung these from the cabinets to dry before dusting the insides and edges.
While the blooms were drying from the cabinet handles, I mixed some green dye into the rest of the gum paste to punch out leaves for the roses and lilies. Once I got the hang of it, I was churning them out left and right and didn’t waste any of the sugar. From a one pound bag, I had a tiny 1.5 gram left, which I’ll use as gum glue for another project =)
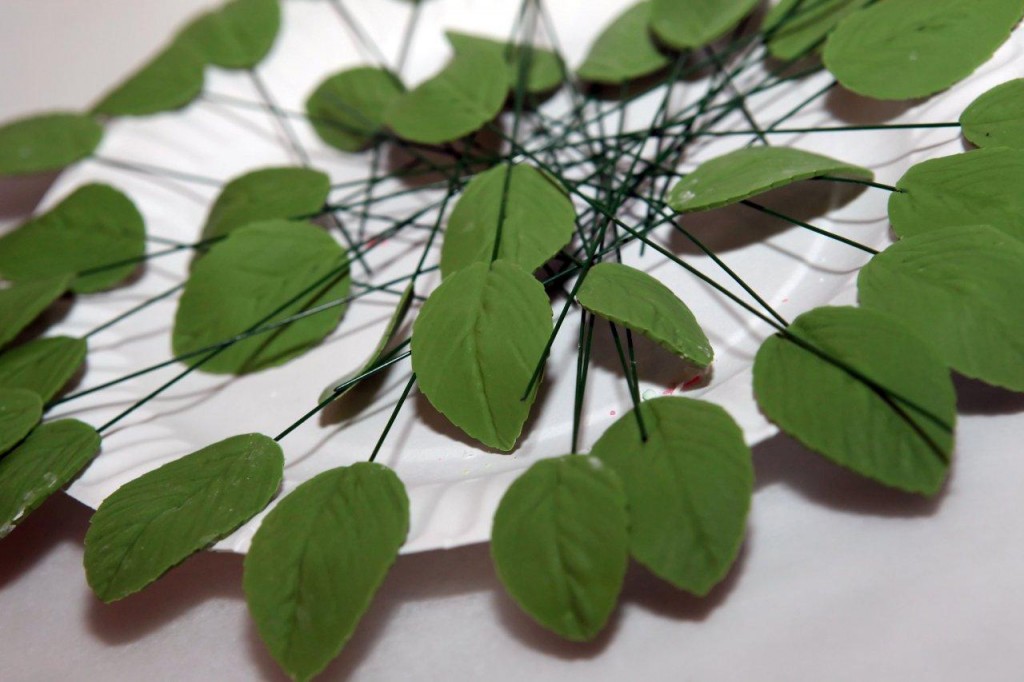
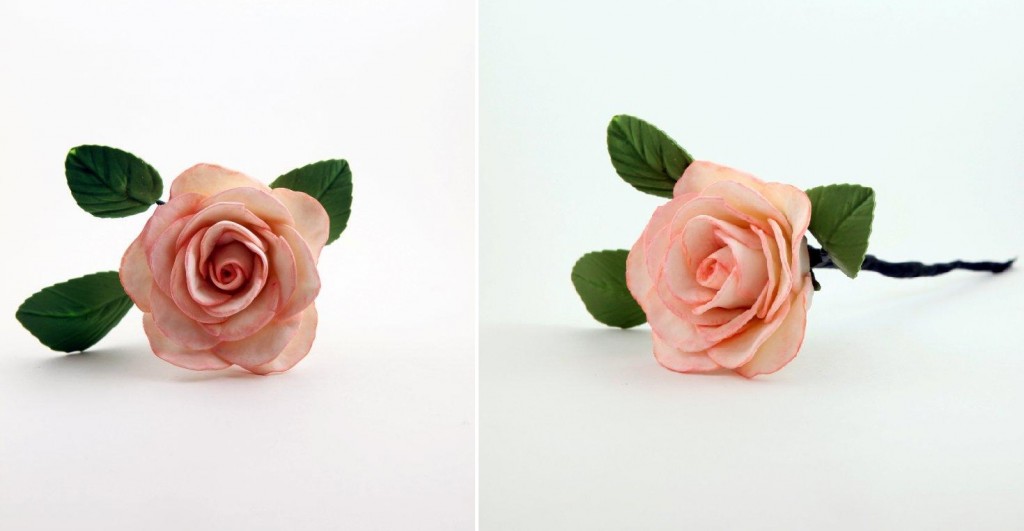
I dried the leaves on egg cartons and plates so there would be some kind of shape to the greenery. These hardened rather quickly compared to the flowers, so I started wrapping florist tape on the wires in order to shape the blooms and leaves. It all just came together perfectly and looked really nice. I made mental notes for next time to add darker food color for the leaves to better match the florist tape and to dust the leaves to look more realistic. My first paint job was a little sloppy (the yellow tinged white rose), but the pink tinted rose came out MUCH better. I think that one was my favorite; it was a huge full bloom with crinkled, life-like petals. This one was definitely the star of the show for my mom’s bouquet.
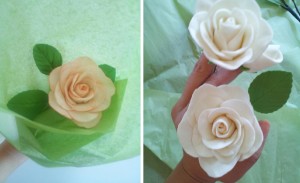
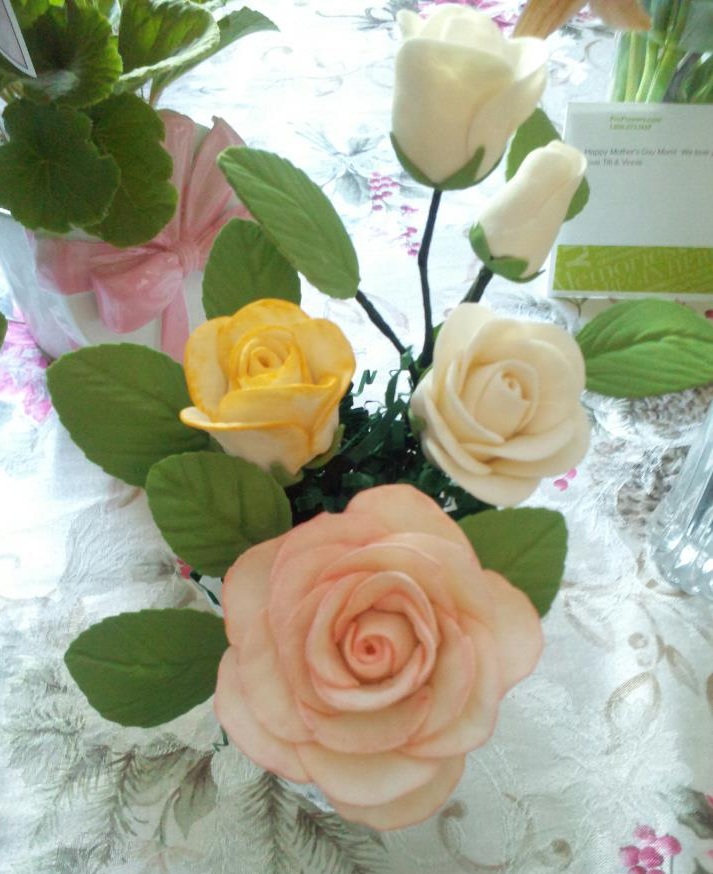
I wrapped the flowers in tissue paper, making sure the leaves didn’t touch the blooms. These weren’t completely dry yet; if the flowers are totally dry they should last forever and be pretty damn sturdy. (I accidentally dropped one of the roses in the class K and I took and it was still intact!) When I unpacked one of the stems to show my mom, she was so excited and immediately left in search of heavy vases to display the flowers while I was still unwrapping them. My mom was so happy and showed them off to my dad and grandma. I arranged the bouquet and set the vase on the dining table next to all the other flowers from my sister, aunt, and Vin, and they looked pretty real. I poked my brother and said, “Mom loves my present the best. Obviously, I’m her favorite.” hahaha My sister wasn’t able to join us for Mother’s Day with my mom, so I emailed her cell phone shots of the flowers. B was like, “Wow. They look awesome. Big leagues now.” Later that Mother’s Day, we stopped by to see Vin’s mom and I brought her some of flowers, too. I’m really happy both our moms loved the gifts AND that they’ll last much longer than real flowers =)
Vin broke out his mini studio to take awesome pics of the flowers before we gifted them away. Check out the images for yourselves.
After all this work, I see why these things are so expensive… they’re not some easy project you can make overnight! Next time, I’ll be more prepared and I’m sure the flowers will come out even better.
