My sleep schedule has become completely out of whack b/c of this weekend. Ever since I didn’t sleep the night before Em’s wedding to work on her cake, I feel like I’m becoming a vampire and wanting to sleep (or @ least nap) during the day and stay up all night. On Sunday night Vin and I were getting ready for bed around 1 am and I just couldn’t fall asleep. Vin was already passed out, so I snuck out of bed and tiptoed into the kitchen to take out these containers holding hunks of extra red velvet and chocolate cake, along with 2 tubs of cream cheese frosting. I couldn’t catch those zzz’s so I might as well work on Vin’s birthday cake, right?
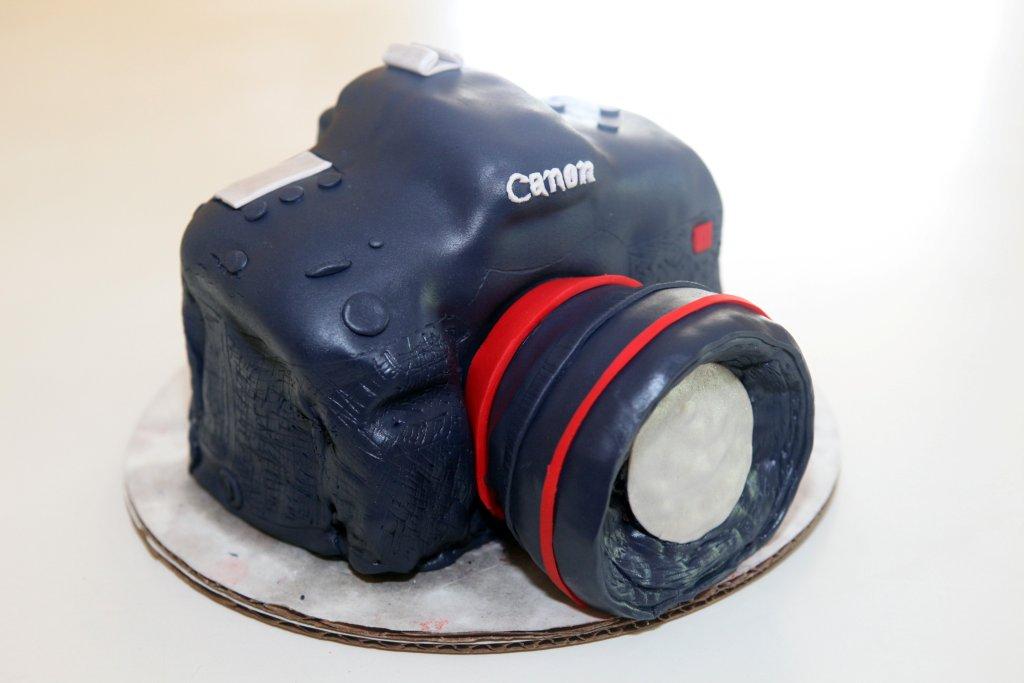
I guess I blew my cake decorating wad last year when I made him that steak cake platter, and so I needed to make something really great for this year. My husband is an amazing photographer so I had this outrageous idea to make him a camera cake. Really good cameras and equipment are $$$$ and making a camera in cake form was the only way I could afford to give him a sweet @ss Canon DSLR. I already bought him some smaller gifts of things he wanted, and I knew Em’s cake would be priority for this weekend, so I didn’t know exactly how much time I could actually devote to Vin’s cake. Even so, I printed out pictures of every single angle imaginable of the meagerly priced $15K (yikes!) Canon EOS 1D C and studied how I’d make each part, the relative external dimensions, noted the areas where there were indents and ridges, where there was texture for the grip… it was pretty elaborate. I didn’t know when I’d be able to make it or how long this would take, but I scribbled out my plans anyway.
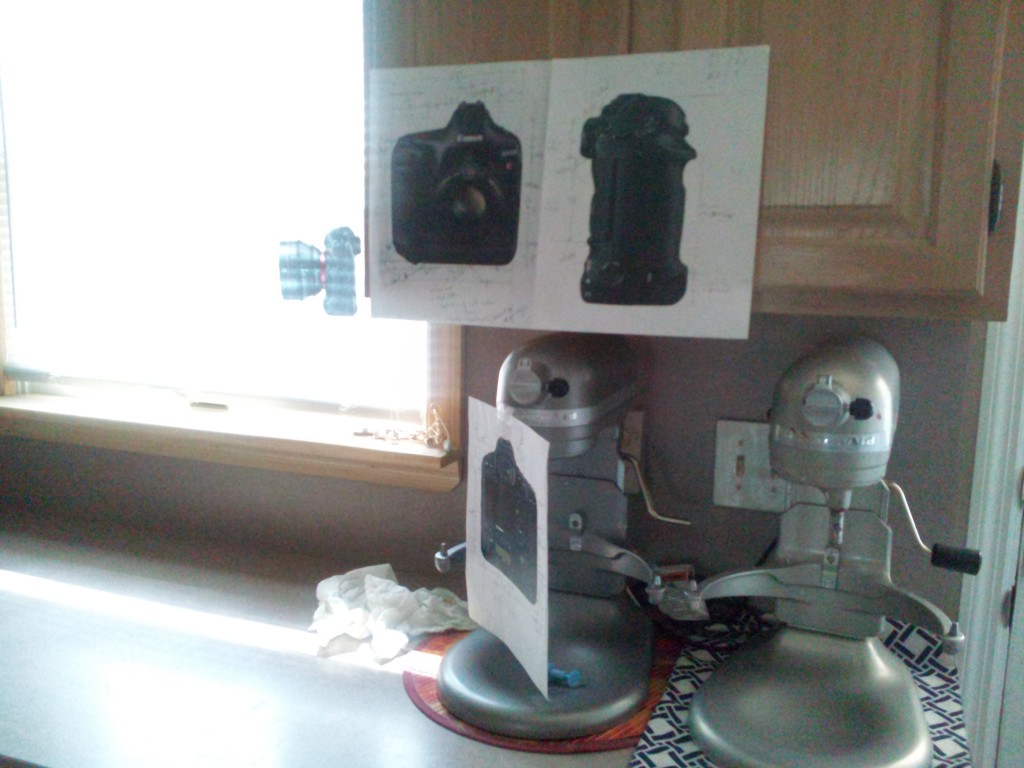
Luckily, the cake was all ready to be cut and shaped and spackled with frosting when I started that night. I had mixed the leftover chocolate and red velvet cake batter from Em’s cake and had baked it into a square pan and 2 small rounds on Thursday night. I cut it into 6″x 3″ pieces and stacked 2 cake layers on top of each other like a bricklayer using cream cheese frosting instead of cement. I sliced up extra cake pieces for the top ridge where the viewfinder and flash bracket would be, the hand grip on the right, and the ridge on the base of the camera body. Indents on the corners and hand grip were carved out, and I dirty iced the entire cake to hold it together. For the lens, I layered 2 pieces of the rounds and took a chef’s knife to pare out the concave shape for the front of the lens.
I mashed together all the pieces of leftover fondant from the wedding cake (pink, blue, green) and added black gel coloring to cover the camera. If you look closely @ the pics, you can see that the color came out more bluish grey than black for some reason. Compared to the huge tiers of the wedding cake, putting fondant on a smaller area was a breeze. I rolled out the fondant and shaped it onto the camera body like a pro; all the dents and ridges came out BEAUTIFULLY. I mean, seriously… look @ the groove on the right where your right hand would grip the camera… see how the top ridge where the flash bracket goes is just so even and curvy. And I did it in one perfect shot (pun!). The seams were a little sloppy; I should have checked out how to fix that before I fondanted the cake, but oh well. I took a toothpick and started drawing outlines on the camera where the textured grip was, the outlines and borders of shapes, and marked where all the buttons would be. I layered rolled fondant on the lens piece, but since I kept handling it too much, the fondant started to get too soft and I had to put a double layer (this time in strips) of fondant to repair it.
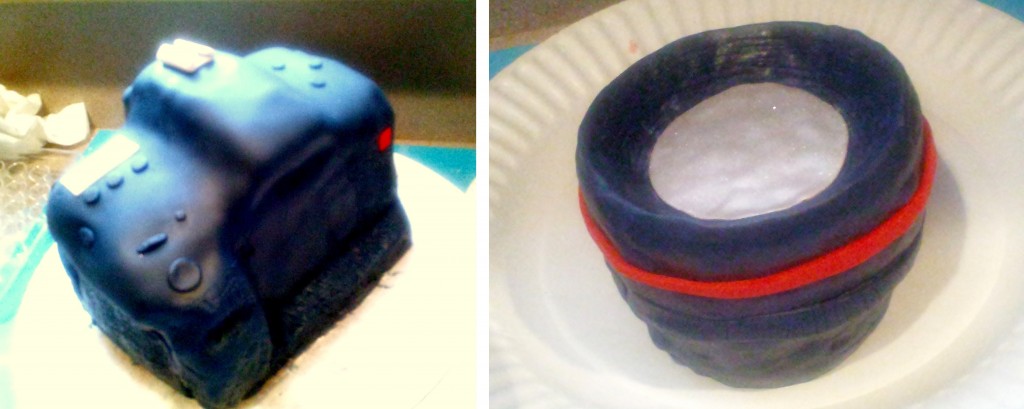
For the glass components (lens, viewfinder, screen) I WAS going to make them out of sugar, but I just didn’t have time to make molds and shape out wax paper and perfectly melt the sugar. I ended up rolling out a bit of white fondant and cutting out the screen and lens pieces, then dusted them with silver petal powder to give it a shiny sheen. The powder was annoying and got everywhere; it kept sticking to the black fondant on the lens.
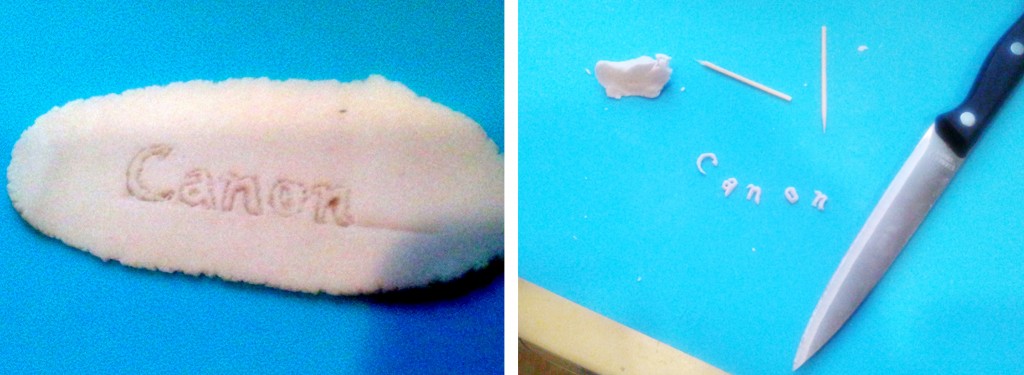
I rolled out the last piece of white fondant and took a toothpick to basically outline the “Canon” logo by hand. I formed the signature “C” by poking. one. hole. @. a. time. Then made dotted lines for the rest of the letters, putting painstaking detail in my freehand work to make them look as close to the logo as possible. I took a sharp chef’s knife (I realize a knife and toothpick are my favorite fondant tools) and carefully cut out the letters by following my dotted lines. I figured if this didn’t come out nicely, I’d just cut out the logo from one of the pictures and stick it on the cake. haha Luckily, the letters came out great and didn’t crack or break! I let those dry out and used tweezers to stick the letters on. I think after the camera body shape, this was the best part and my favorite component of the cake.
With the last of the dark fondant I punched out circles for all the camera setting buttons with cake tips. I took some cut up straws and poked it in the front of the camera body so I could insert the lens. I took a knife and scratched lines into the front of the lens and rolled out some red fondant to make stripes for the lens. You know, I was considering buying one of those fondant ribbon rollers, but I heard they weren’t that great and for some reason the metal pasta ribbon cutters (which would work great on fondant and gum paste) are obscenely expensive. Then again, I realized I cut pretty straight lines with–you got it!– a plain old chef’s knife so those tools were unnecessary anyway.
I left the cake out and crawled into bed to snuggle with Vin for a couple hours and nap. When he woke up, I was like an excited little kid jumping up and down dragging him out of bed: “Baby, wake up! I made you a present! It’s in the kitchen! Are you going you look @ it? Go to the kitchen! Don’t you want to see what I made you? Look! Look! Look!” And he was impressed. =) I knew it wasn’t as good as the steak, but this was more complicated as it wasn’t a flat cake. Unfortunately, the weight of the cake started pulling the fondant down and it started to fall and tear a bit, and all of a sudden these stupid air bubbles came out to warp the shape and the lens started to flatten and sag… *sigh* It was nice while it lasted. Bummer, dude. =(
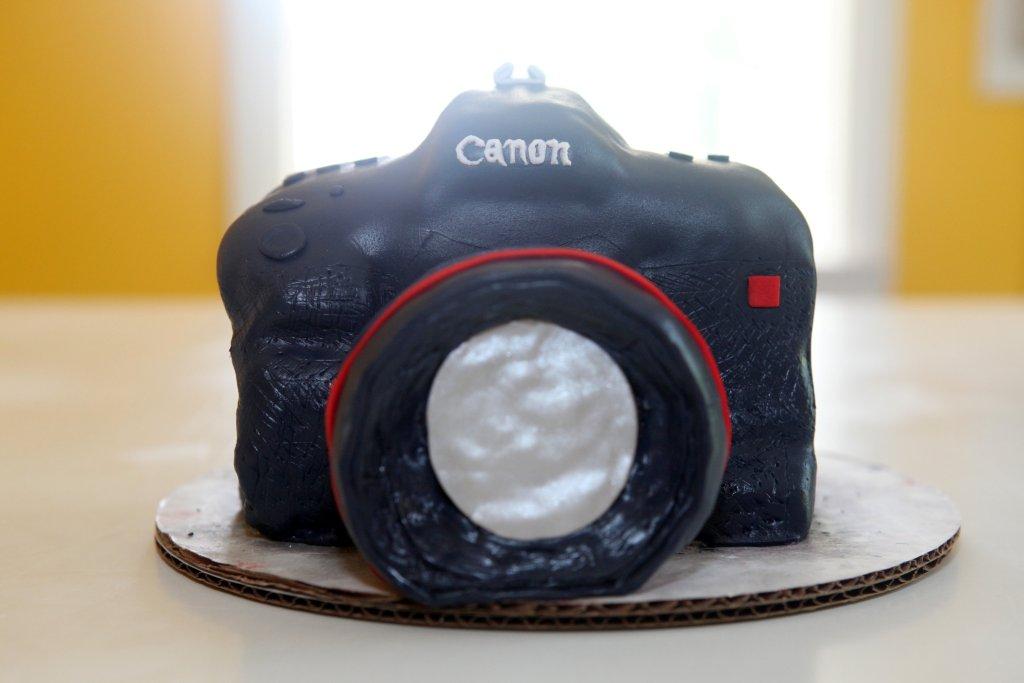
Vin took pics of this Canon camera WITH a Canon. He posted a couple cell phone shots on Facebook and when his dad saw them, he asked if Vin had bought another camera and said, “It looks like it’s an underwater camera…” then burst out laughing when he realized it was a cake. haha
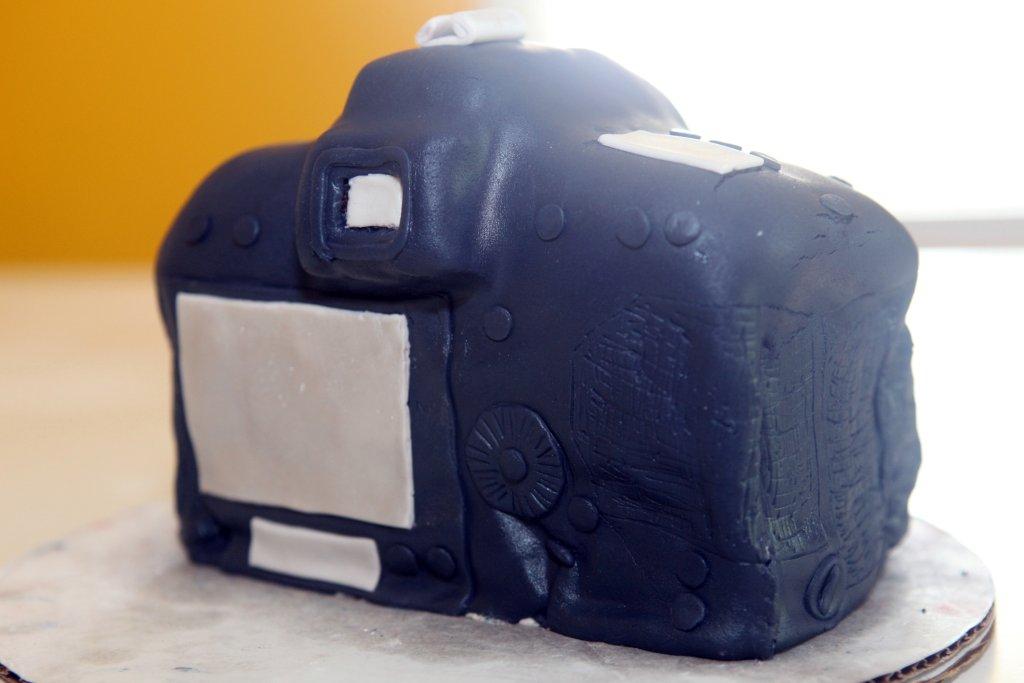
It wasn’t as awesome as I thought it would be, but I’d say it was a special enough cake for Vin’s birthday. I mean, I did it in about 6 hours, which was half the time I spent on the steak last year. Next year… that’ll be a tough one.
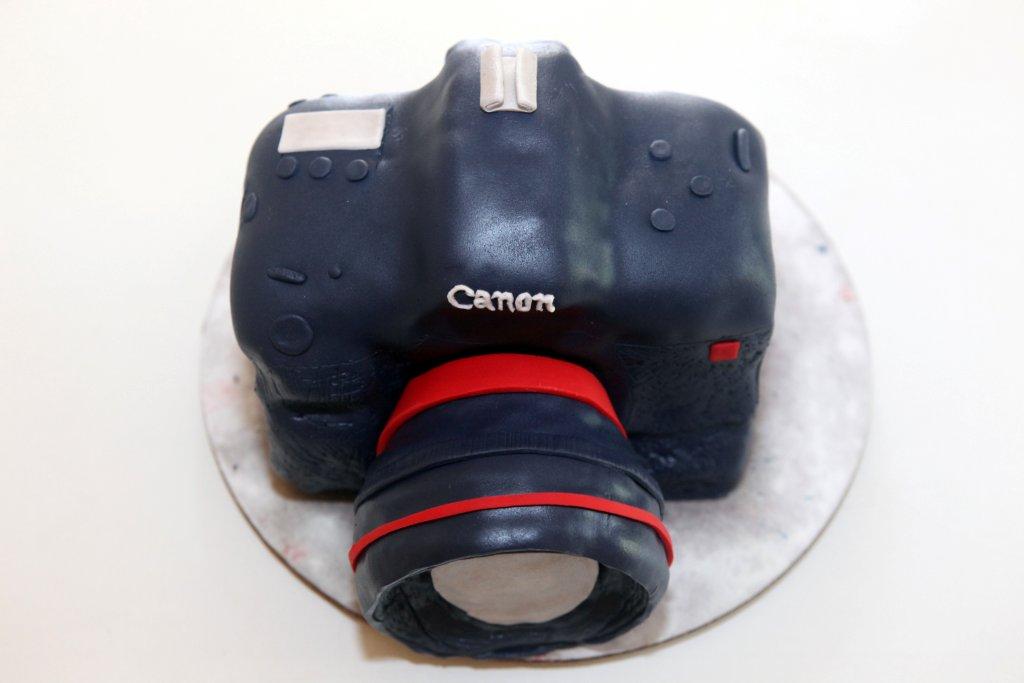
Happy birthday, baby! Thanks for putting up with all my cake craziness this weekend. I love you! =D

One thought on “Memorial Day weekend part 2: birthday”