
It only took me 5 months to write up and post this, and it’s just in time for Halloween! I’ve had non-stop work travel and projects this year and I was lucky enough to even have time to bake for Vin’s cake, so I’ll take it as a win! This year marks the 40th anniversaryContinue reading “THE SHINING!!! aka Vin’s 40th birthday”
Category Archives: cakes
Turkey for Thanksgiving
Ever since I started baking, I’ve heard: “Why don’t you make a TURKEY CAKE for Thanksgiving? Oh, you know what would be a really creative idea for Thanksgiving? OMG if you made a cake that looked like a TURKEY! You should TOTALLY make a turkey cake. Turkey cake turkey cake turkey cake!” Well, I succumbed andContinue reading “Turkey for Thanksgiving”
Just eat it.
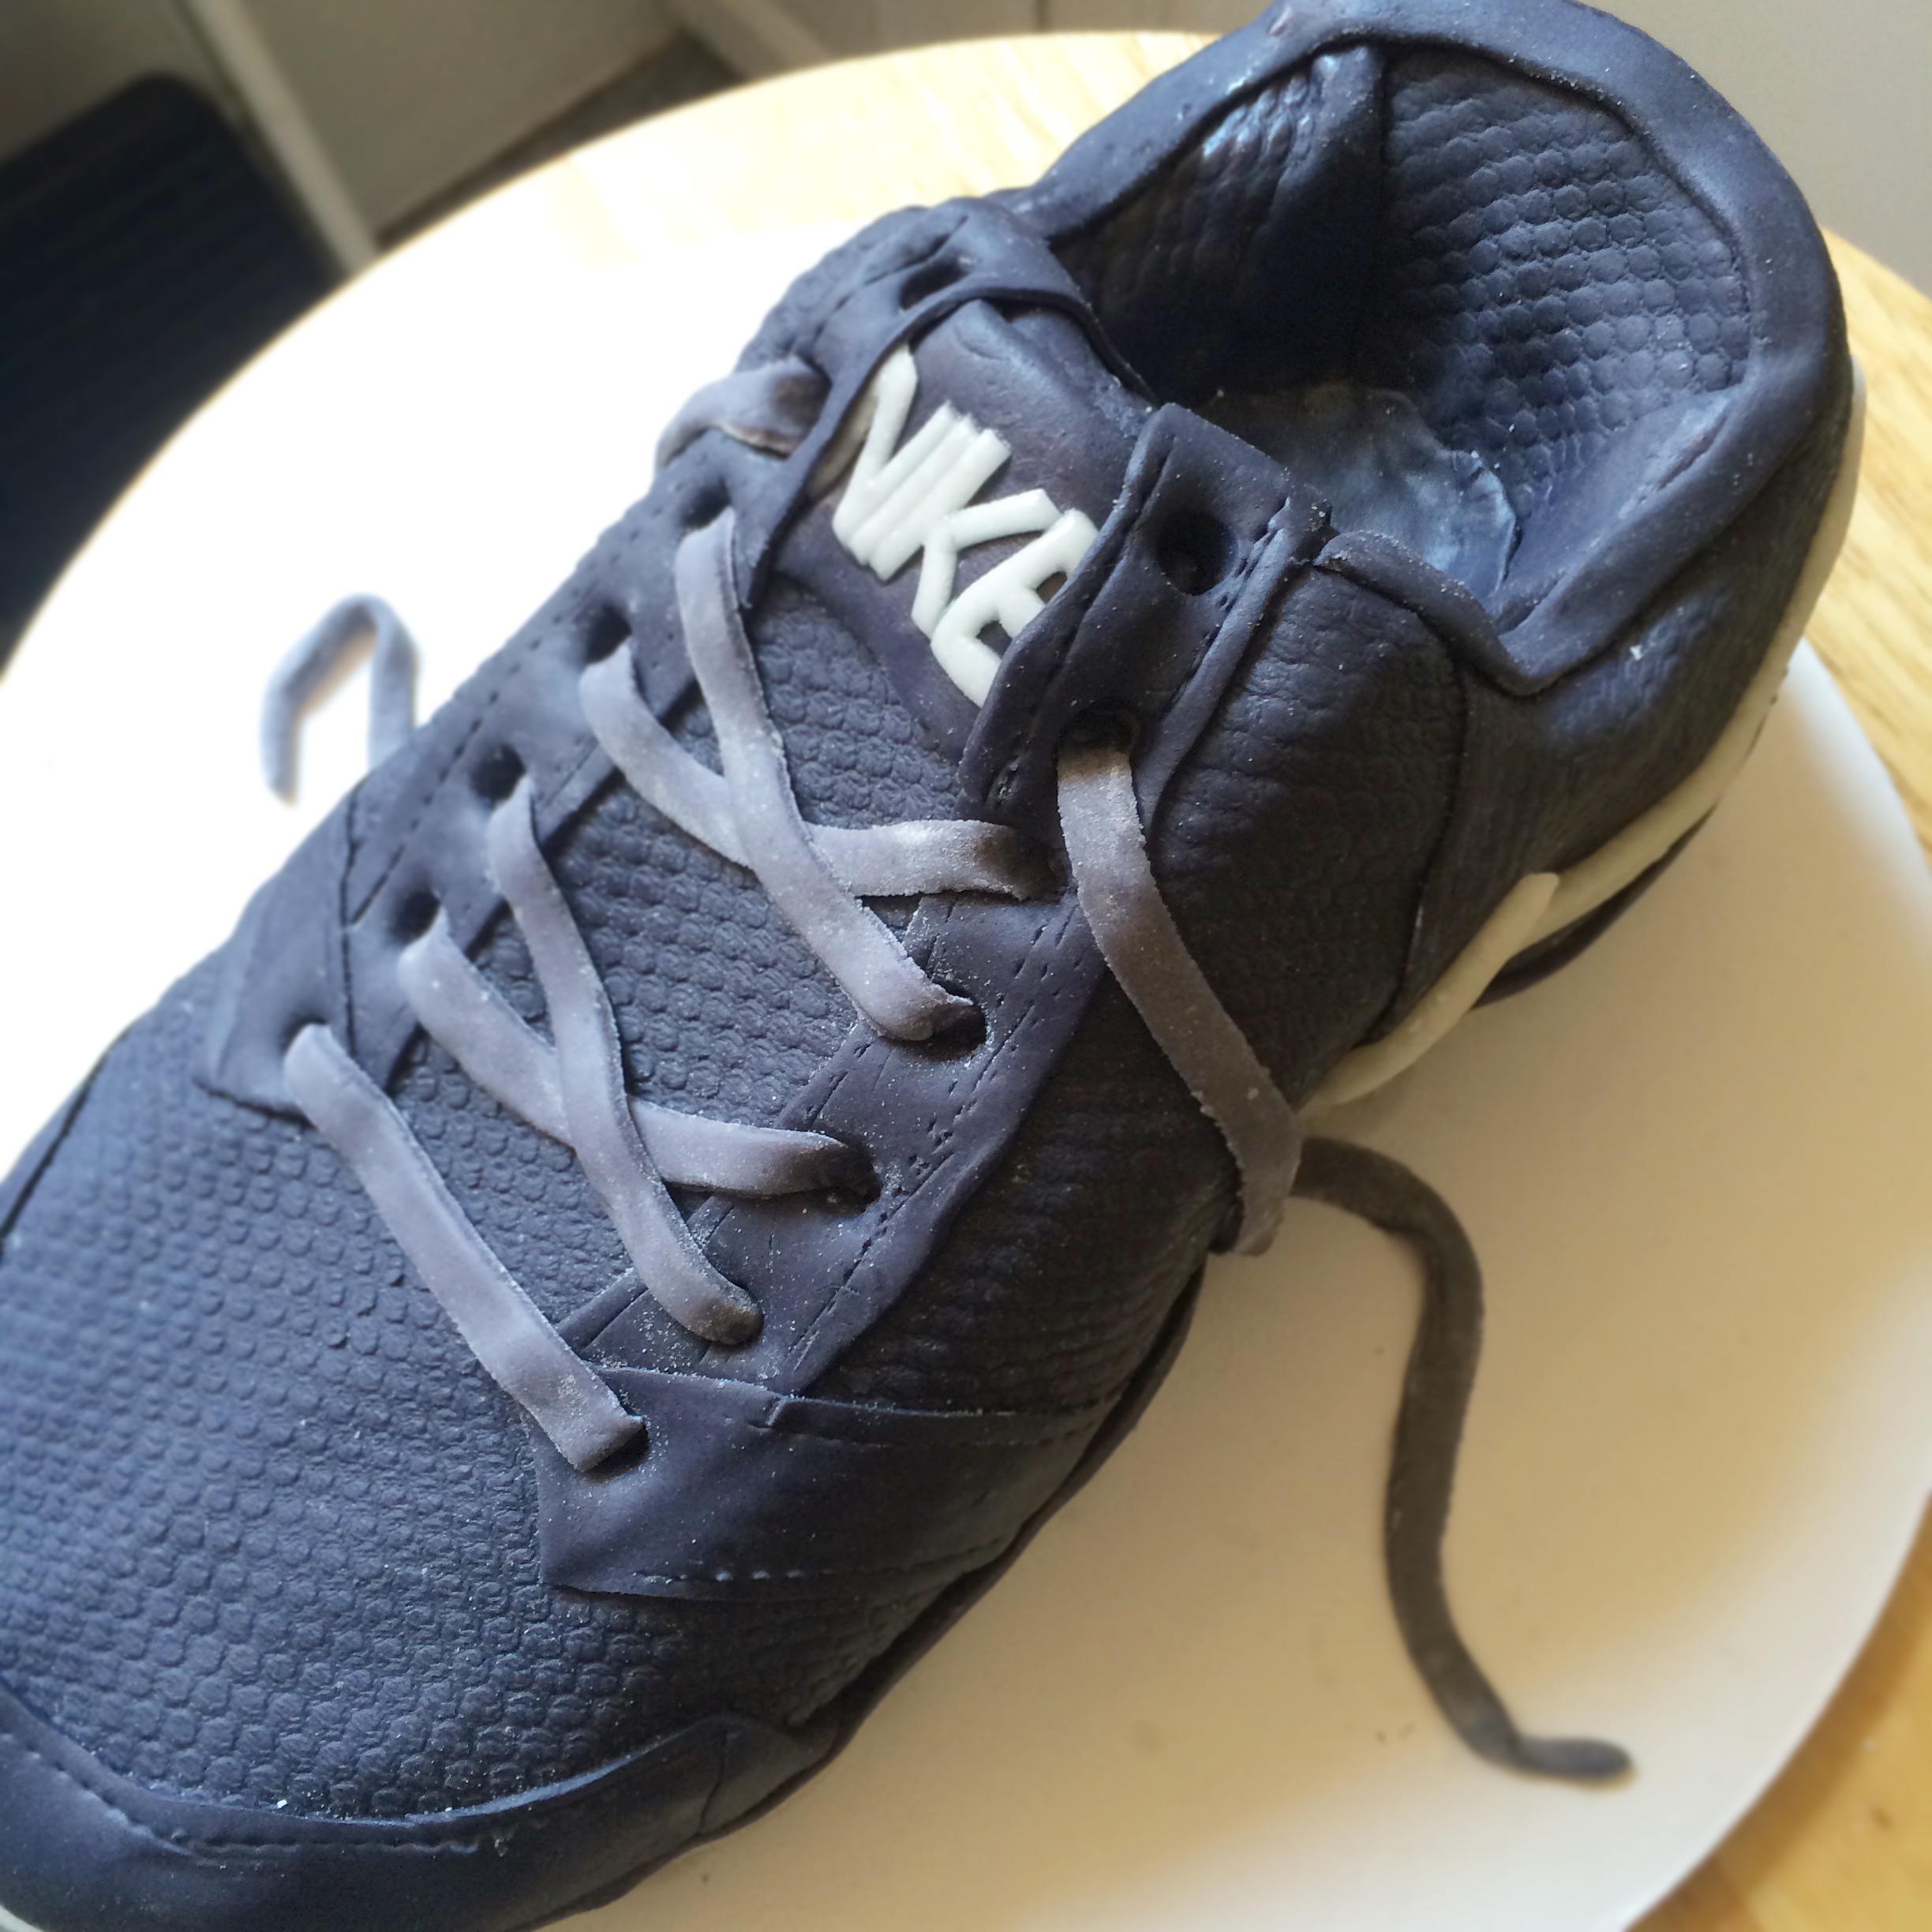
*Because I’m not sure if I’m allowed to say “Just Do It TM” in the headline. OK, this is a SUPER LATE post, but I figure it’s fitting since VIN IS RUNNING THE NYC MARATHON SOON!!! This counts as carb-loading, right??? Now look at the pics…. Another year, another birthday for Vin. He started runningContinue reading “Just eat it.”
Little Boys Blue
First baking projects post move! Let’s just be quick about it, shall we? I had to bake for 2 special little boys: one hasn’t even been born yet, and the other is one of my super cute, super crazy godsons. The theme for the baby shower cake was the ocean, so I played around withContinue reading “Little Boys Blue”
Otanjoubi omedetou! (Ramen birthday cake)
It’s that time of year again, you guys; Memorial Day, the start of summer, Vin’s birthday, a.k.a. the making of the most awesome cake of the year!!! Vin really is the best. He’s worked so hard to get in shape and become healthy, his food critique brand is really taking off, he’s always always thinkingContinue reading “Otanjoubi omedetou! (Ramen birthday cake)”
I Win At Everything – Part 2 (AP)
Right after I won a prestigious NY news behemoth’s holiday party (and still wondering if it’s a conflict of interest since I work @ ANOTHER famous and notable NY-based news media organization), I had to bake for my company’s finance department holiday party. Since I was really busy trying to wrap up year-end testing, I justContinue reading “I Win At Everything – Part 2 (AP)”
I Win At Everything – Part 1 (NYT)
One of my uncles contacted me about a month ago to ask if I could help him with a food contest. My ears immediately perked up, keen with interest. He was participating in his company’s holiday potluck, and this year’s theme happened to be international countries and related movie themes. (I should disclose that heContinue reading “I Win At Everything – Part 1 (NYT)”
A Garden Wedding
Summer means wedding season, and I absolutely love baking and decorating for special occasions like these. A family friend asked if I could bake for her son’s wedding brunch, and I couldn’t refuse, especially since it was such a simple request: 36 packaged cupcakes as wedding favors and a small cutting cake for the brideContinue reading “A Garden Wedding”
Typewriter birthday cake
You know that annoying trait some couples have where they are like, “Ohhhhh my GAWD! We are so perfect for each other because I started saying, ‘I haven’t eaten all day and good thing it’s dinnertime because I’m—‘ and you just KNEW I was going to say ‘starving’ and finished my sentence so you’re totallyContinue reading “Typewriter birthday cake”
Bee colored birthdays
I took a few weeks off to go on vacation (*sigh* one week of vacation is too short) and to gear up for the rest of this summer’s baking projects. This past weekend I had 2 orders for birthday cakes. Coincidentally, both requests were for predominately yellow and black designs, making me think of theContinue reading “Bee colored birthdays”